scani5 Network Scanner
Debian Installation Guide
Complete step-by-step guide to install and configure the scani5 Network Scanner on Debian-based systems. The network scanner discovers hosts, open ports, and services across your infrastructure, extending exposure visibility beyond agent-covered endpoints and helping identify reachable assets that may not yet be inventoried.
Table of Contents
1. Prerequisites
Before installing the scani5 Network Scanner, ensure your system meets these requirements. The scanner host should have network reachability to the subnets you intend to monitor and outbound connectivity to the scani5 platform for reporting results.
- Operating System: Debian 20.04 or later
- Architecture:
amd64(64-bit) - Dependencies:
nmap(automatically installed) - Permissions: Root or sudo access required for installation and initial configuration. The service itself runs as a dedicated
scani5user for security.
2. Download the Debian Package
Download the latest .deb package from the scani5 releases page or your internal repository. Verify that the package version matches your scani5 platform release to ensure compatibility with the dashboard and reporting APIs.
3. Install the Package
Step 1: Navigate to Package Location
Change to the directory where the .deb file was downloaded. Replace the path below with your actual download location.
cd /path/to/downloaded/package
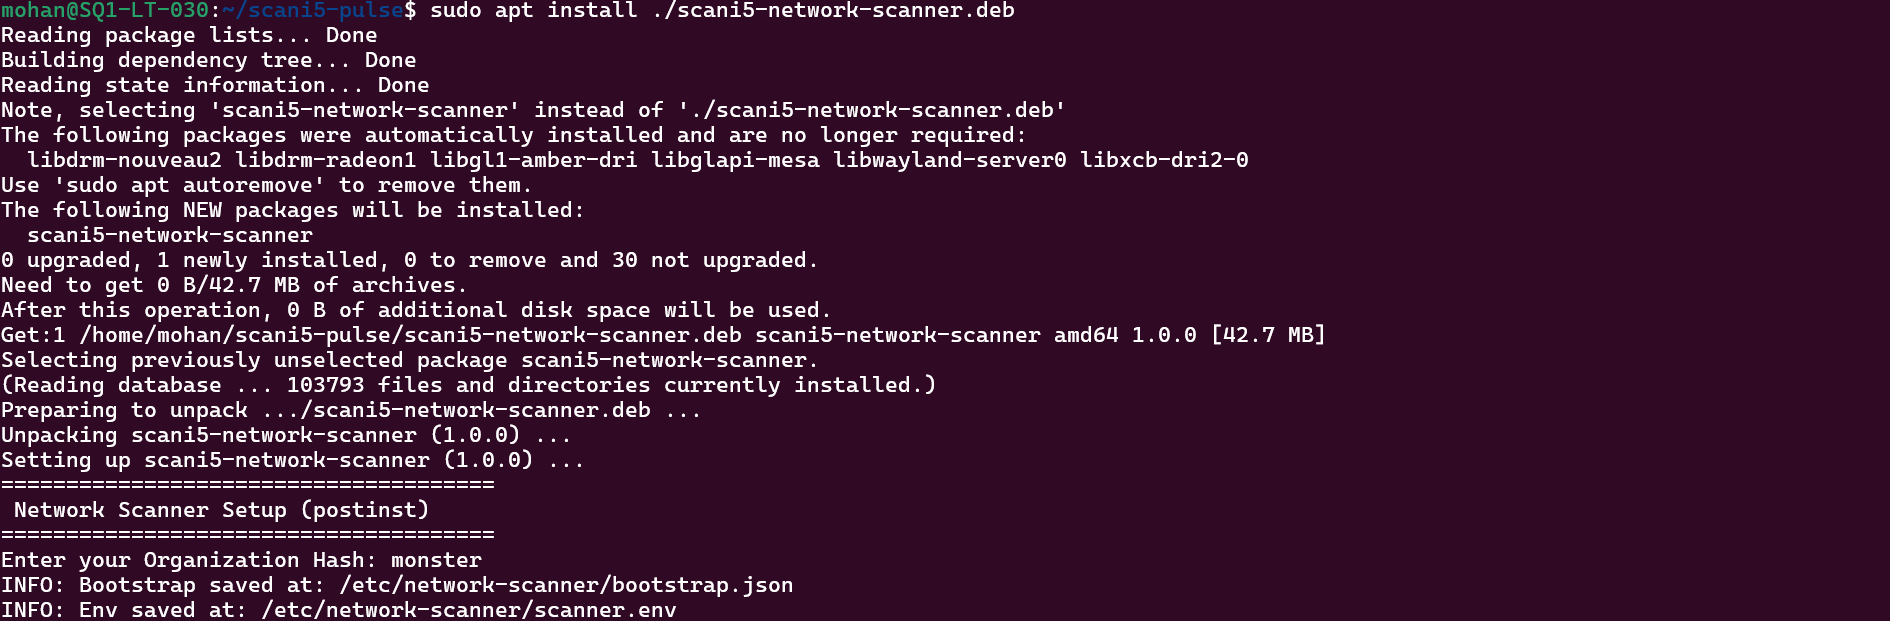
Step 2: Install the Package
Run the install command using apt so dependencies such as nmap are resolved automatically. nmap is required for network discovery and port scanning operations performed by the scanner service.
sudo apt install scani5-network-scanner_1.0.0_amd64.deb
If there are dependency issues, run:
sudo apt install -f
This command attempts to fix broken dependencies and complete any partially installed packages.
The installation automatically creates a dedicated system user, scani5, for running the service securely. This user has limited privileges and is used to run the scanner process, reducing the attack surface compared to running scans as root.
Step 3: Enter Organization Hash
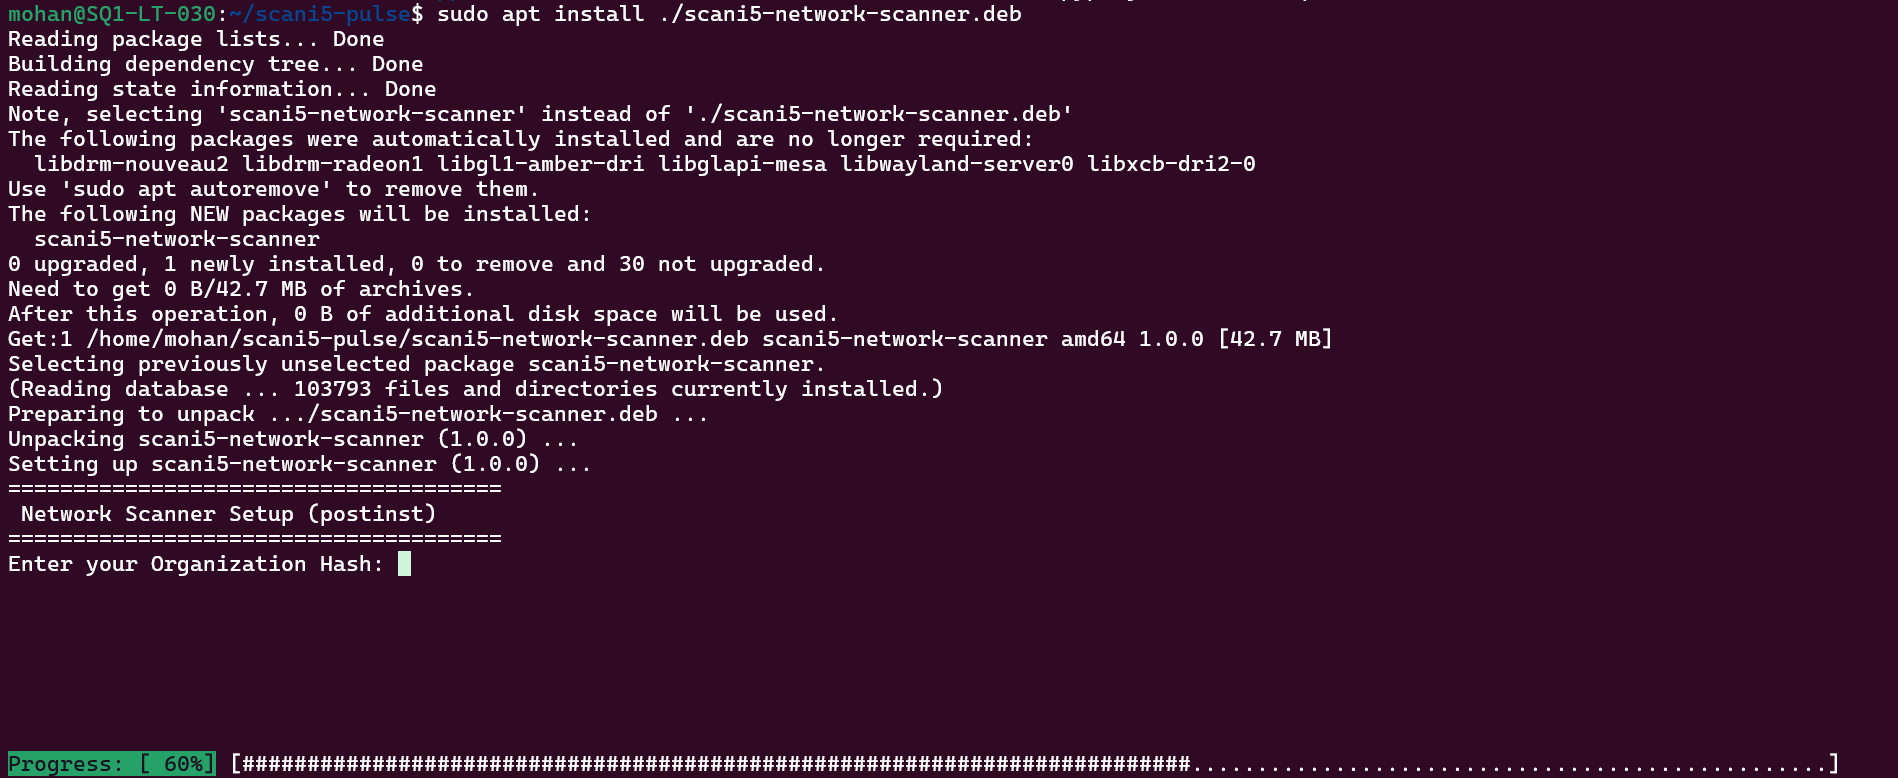
During installation, you will be prompted to enter your organization hash. This value links the network scanner to your scani5 tenant and ensures scan results are attributed to the correct organization in the platform.
Enter your Organization Hash: [your-org-hash-here]
4. Verify Installation
After installation, confirm the service is running correctly before scheduling network scans or integrating results into your exposure management workflow.
Check Service Status
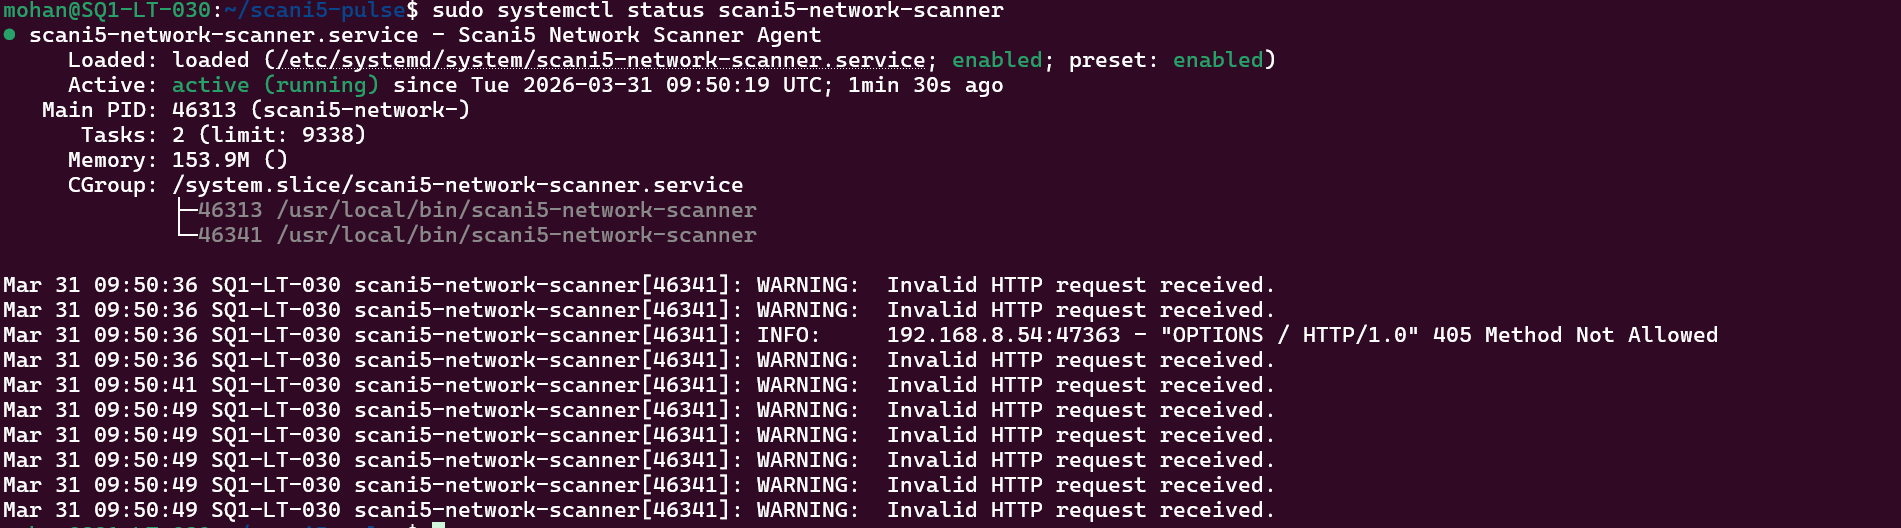
Use systemctl to verify the scanner service is active and enabled to start on boot.
sudo systemctl status scani5-network-scanner
A healthy installation shows the service as active (running). If the service failed to start, review the logs in the next step for error details.
View Service Logs
Follow live service output to monitor startup, scan activity, and any connectivity or configuration errors.
sudo journalctl -u scani5-network-scanner -f
Press Ctrl+C to stop following logs once you have confirmed normal operation.

Test the Scanner
Send a health check request to confirm the scanner API is responding on the local port.
curl http://localhost:8000/health
A successful response indicates the web service is up and ready to accept scan configuration and serve the dashboard.
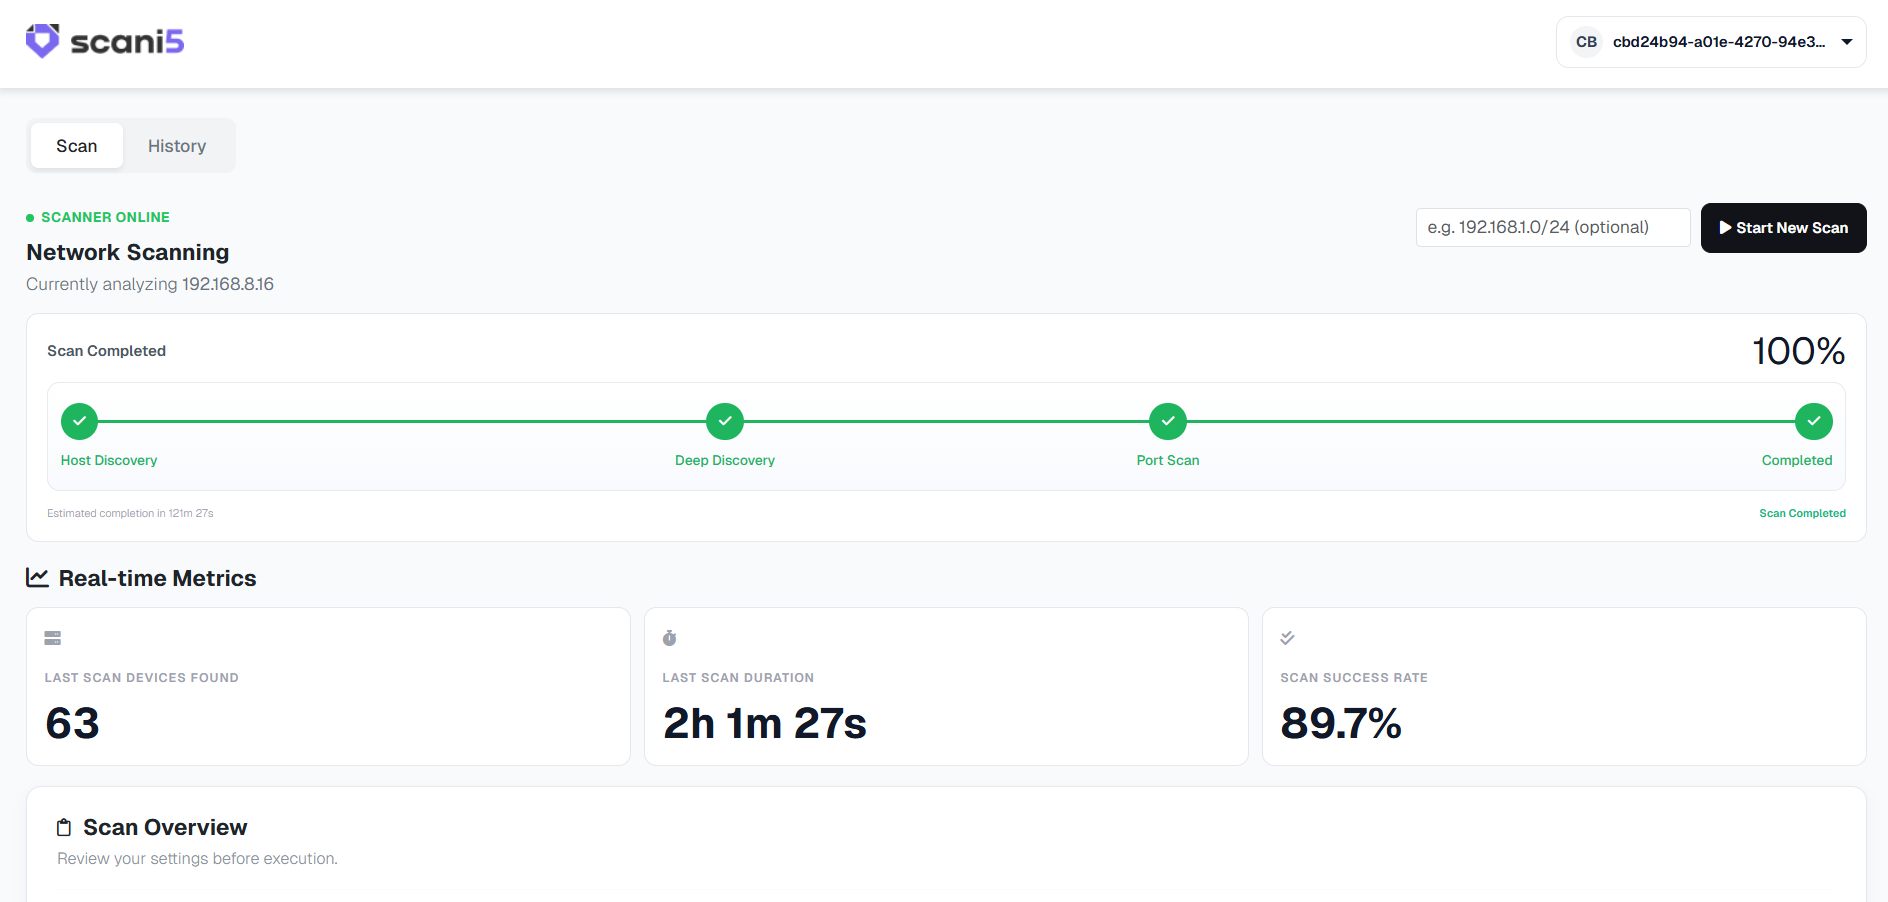
Once installed and running, you can access the scani5 Network Scanner web interface at:
http://localhost:8000
Open this URL in your web browser to view the scanner dashboard and manage network scans. From the dashboard you can define scan targets, review discovered hosts, and monitor scan progress.
5. Uninstallation
Use the commands below to remove the network scanner if you are decommissioning the host or redeploying to a different system.
Remove Package (Keep Configuration)
This option removes the application binaries but retains configuration files, which can be useful if you plan to reinstall later without re-entering settings.
sudo apt remove scani5-network-scanner
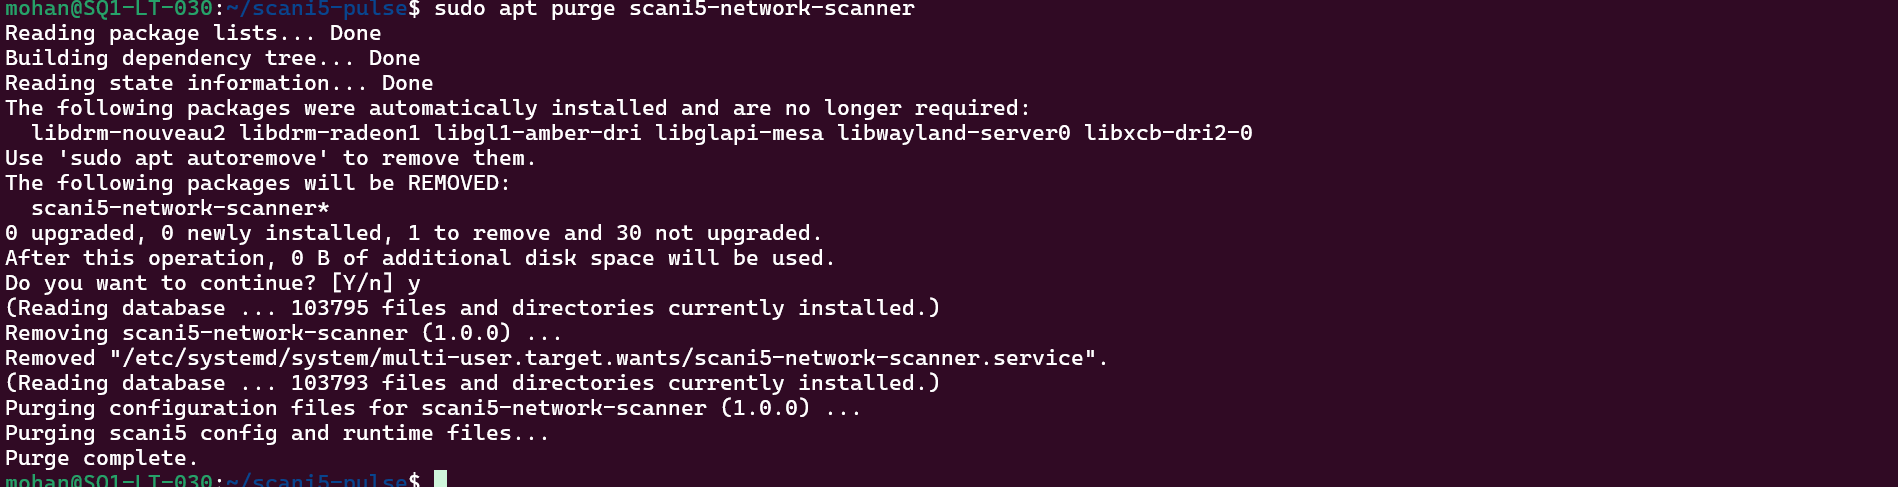
Remove Package and Configuration
This performs a full cleanup, removing the package, configuration directories, and local scanner data.
sudo apt purge scani5-network-scanner
sudo rm -rf /etc/network-scanner /var/lib/scani5
Installation Complete
Your scani5 Network Scanner is now ready to monitor your network. Scan results will feed into the scani5 platform to help identify exposed hosts, open services, and network-level attack surface across your environment.
Document Version: 1.0.0
Last Updated: March 2026
scani5 Version: 1.0.0
For support: support@scani5.com